High Power Certification Flight Success!
June 6, 2025
On May 31st I launched my “Fanton 438 (EXL)” kit, rebuilt from last time and named Minuteman II. This was my second attempt at completing my Tripoli Rocketry Level 1 certification, my first attempt was not successful. Unfortunately, 2 seconds into flight it suffered a Rapid, Unscheduled, Disassembly. Root cause analysis was performed using high speed footage. The footage showed the motor deployed the rocket’s parachute far too early. Needless to say this was a bad outcome, and one that is difficult to prevent as the motor was a commercial, off-the-shelf variety.
For this event, I had to the same model motor, an H100W-14A. It was sourced differently however, from the club’s cache of cert motors, instead of the club’s motor seller. This was enough to ensure a successful certification launch. As you’ll see from the data, I was able to reach 800ft AGL and deployed parachutes at almost exactly the apogee.
For this launch I included fixes and improvements to my telemtry hardware and software. My radio receiver got 2 new upgrades: anti vibration Nyloc nuts and padding to prevent internal component separation. On the software side I improved my android app with a data export function and an audible ping when receiving a packet, which is useful for direction finding, and can always be silenced if wanted. Here is the launch video and below that is some photos from the rebuild process:
Launch media
Repairs and Improvements
On the first attempt, the high speed parachute deployment lead to separation on two of the strings. I used rip stop nylon patches to repair the tears, and sewed the strings back on with the help of my lovely assistant, Sonya.
The fin can was damaged by fire, too severly to be reused so I put together a new one. This time I made sure to use an organic composite COTS (commercial-off-the-shelf) fillet former, aka a popsicle stick. The rocket was also cured vertically to avoid epoxy flowing out of shape.
Here it is primed:
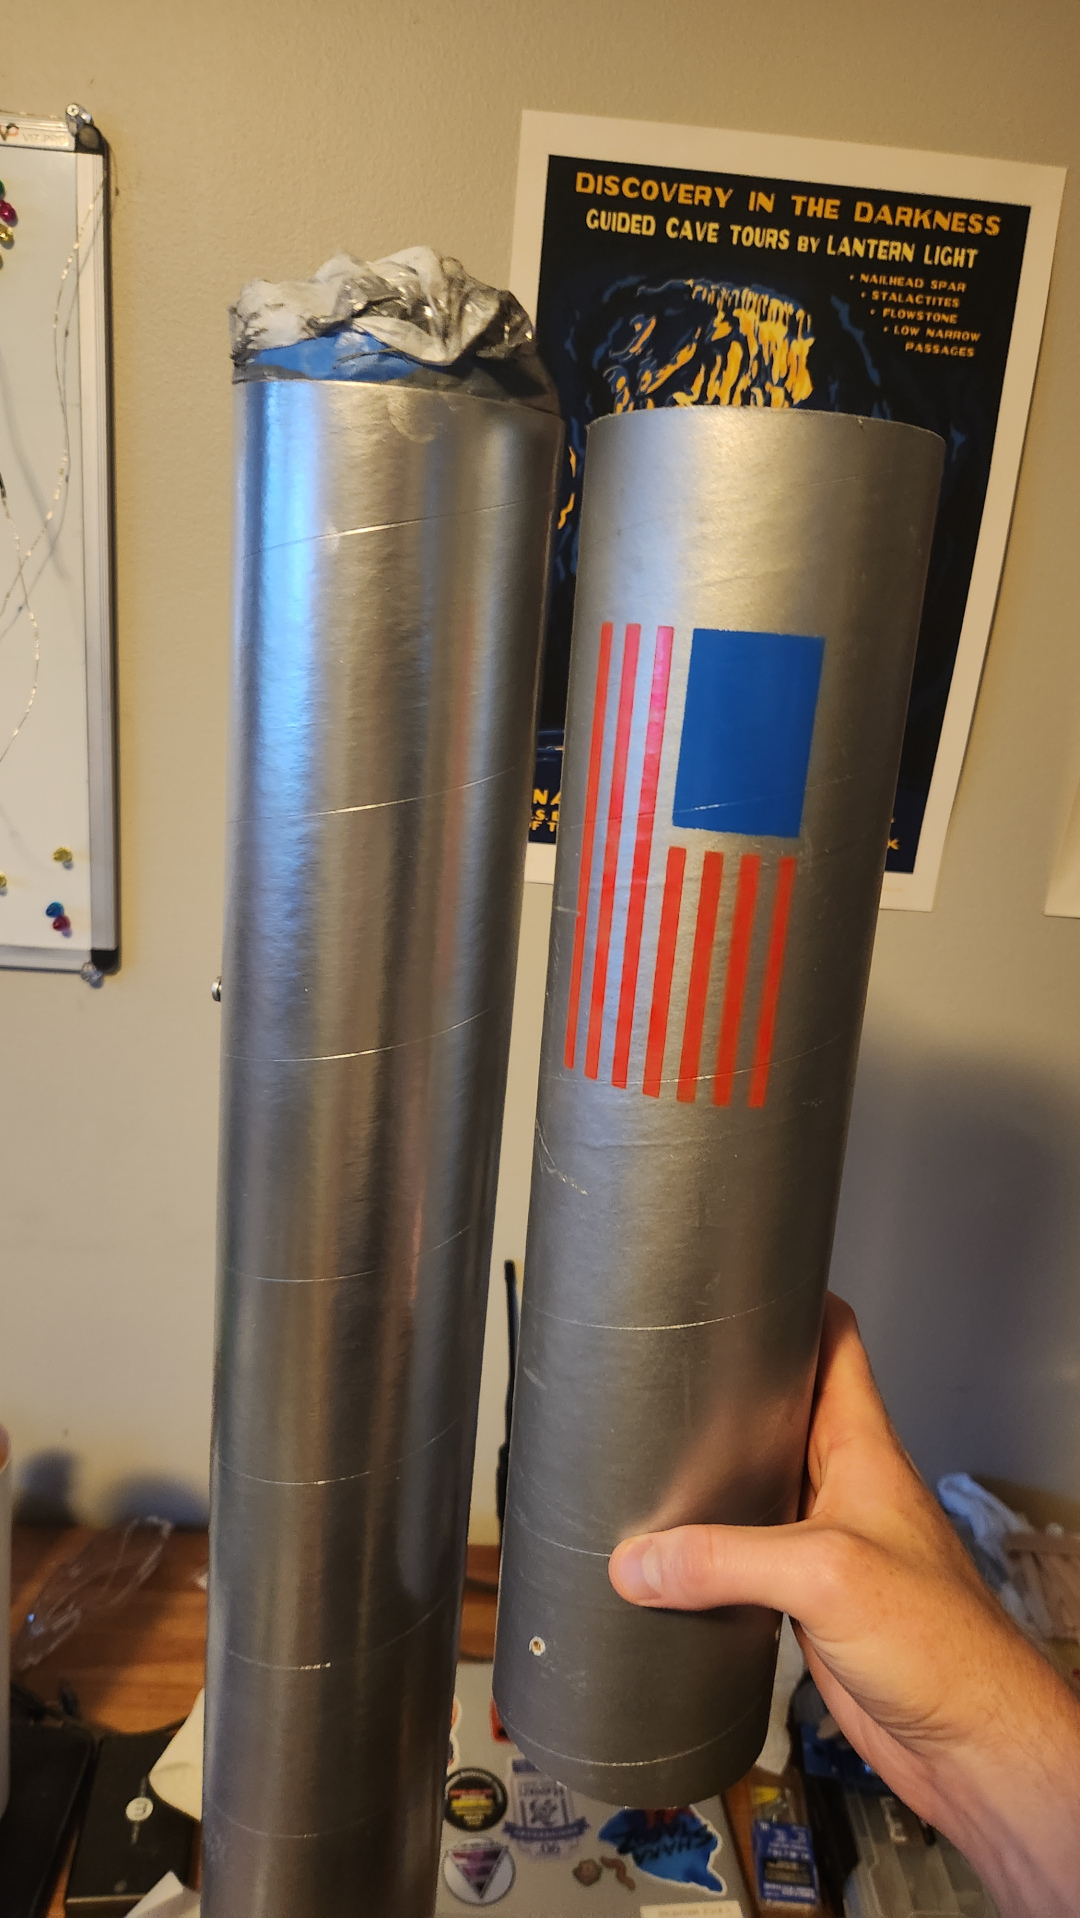
Then I painted it a rather nice shade of stainless steel, here it is compared to the upper section of the original rocket:
For this next section, I am a bit wary sharing it. For completeness though, I did make my own parachute deployment charges using the same method illustrated by BPS.space. I used half inch vinyl tubing, sealed with hot glue on one end (the glue cures very nicely if you let the tube sit upright on some parchement paper). I used 777 brand muzzle loader powder, FFFg variety. This was ignited using an Estes STARTECH motor starter. I used electrical tape to ensure no short circuits. I found that soldering wires directly to the igniter, while dangerous, is the best way to connect them. This was all held in the tube using Estes recovery wadding and electrical tape. I made sure to pack finger tight, maybe just a little tighter. This powder is designed for high pressure combustion so I figured that more compression would be best.
These charges were tested on the ground to ensure they were large enough, and I used BPS’s great motto: “Blow Up or Blow Out” to help size the charge: more is better. I ended up using 4 grams of powder for my main chute deployment. I will need to test for the small chute for my level 2 certification.